One of the good things about staying at an AirBnB is that your host will be able to tell you more about your destination. In our case, our host told us that the 2 biggest attractions in Big Island Hawaii are
Things to do in Hawaii Big Island
1. Snorkeling with the giant Manta Rays
2. Seeing Lava Entry at Hawaii Volcanoes National Park
Since Kate doesn’t really like the sound of swimming with Manta Rays (which was why we did the glass bottom boat tour in Honduras), we decided to drive up Hawaii Volcanoes National Park.
Originally, we wanted to view the lava entry from one of the boat tours. Although it costs $250USD/person, it was meant to be an unforgettable experience. Check out this picture from Seelava’s website
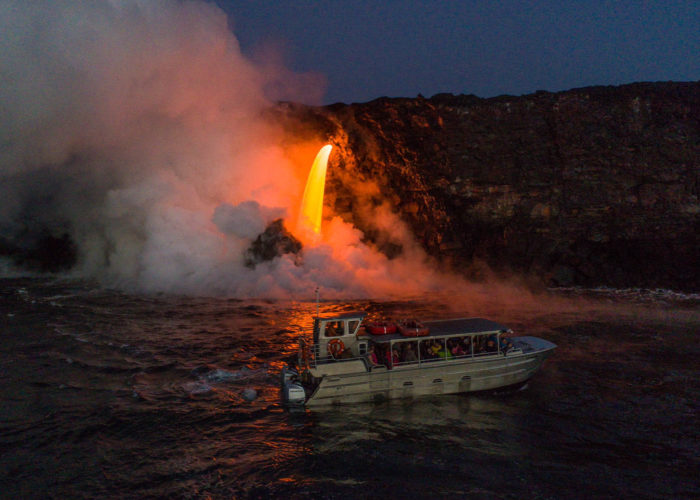
The best times to view lava flow is in the evenings or in the mornings. That’s where you’ll have contrast in low light in order to see the lava more clearly. Unfortunately for us, the night tours on day 1 were sold out and since the weather was not so good on day 2, the boat tours were cancelled! Although it “saved us” $500USD for 2 people, you would not be able to imagine what we had to go through in order to reach the lava viewing area – by foot!
Two Steps Snorkeling Honaunau Bay Big Island Hawaii
But before we headed over to Hawaii Volcanoes National Park, we dropped by Two Steps, as recommended by our host.
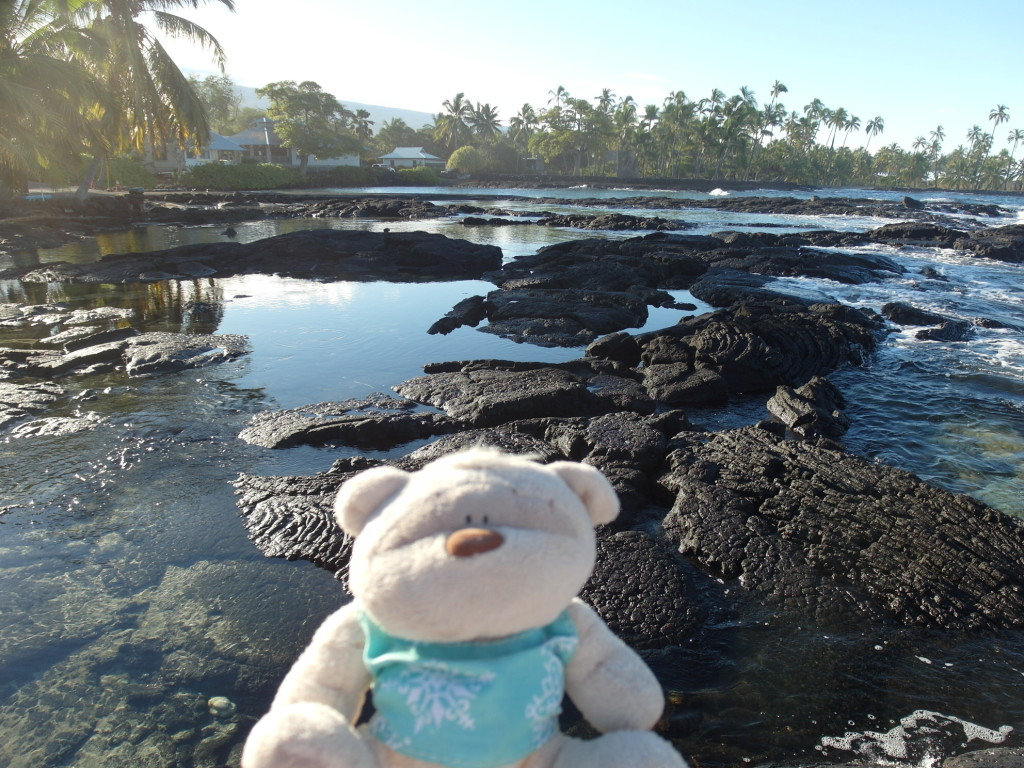
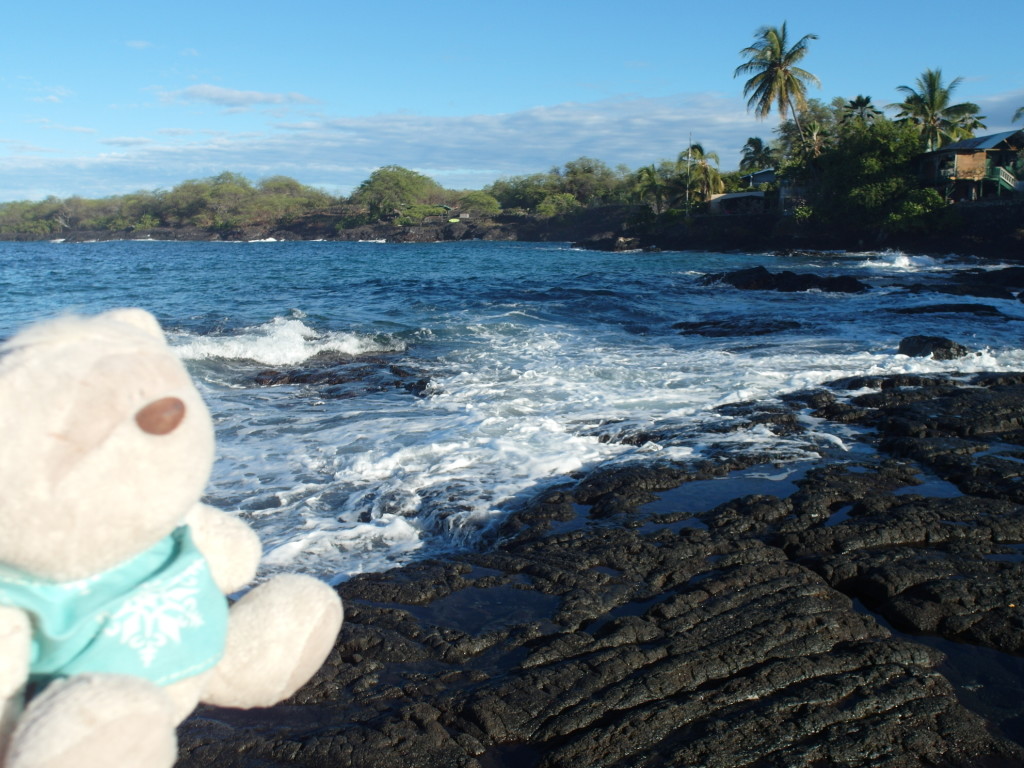
Two Steps is actually a famous snorkeling area in Big Island Hawaii. Located at Honaunau Bay, visitors are able to see wild life such as dolphins, sea horse, sea urchins and turtles right off the bay! The name Two Steps is given because you literally just have to take 2 (albeit big) steps and you’ll be in the beautiful sea world below. However, we gave Two Steps a miss because of the strong winds that morning (remember the cancelled boat tours?). Nonetheless, when we arrived at 8am, there were already a couple of people who had finished snorkeling that morning. Remember to arrive earlier so as to be able to park your car. Our host told us that 8am would allow you to get some parking lots. Thereafter, it starts to get crowded real fast.
Hawaii Volcanoes National Park Big Island Hawaii
To get to Hawaii Volcanoes National Park, it is really quite simple. Just follow the signs that says “Volcano”
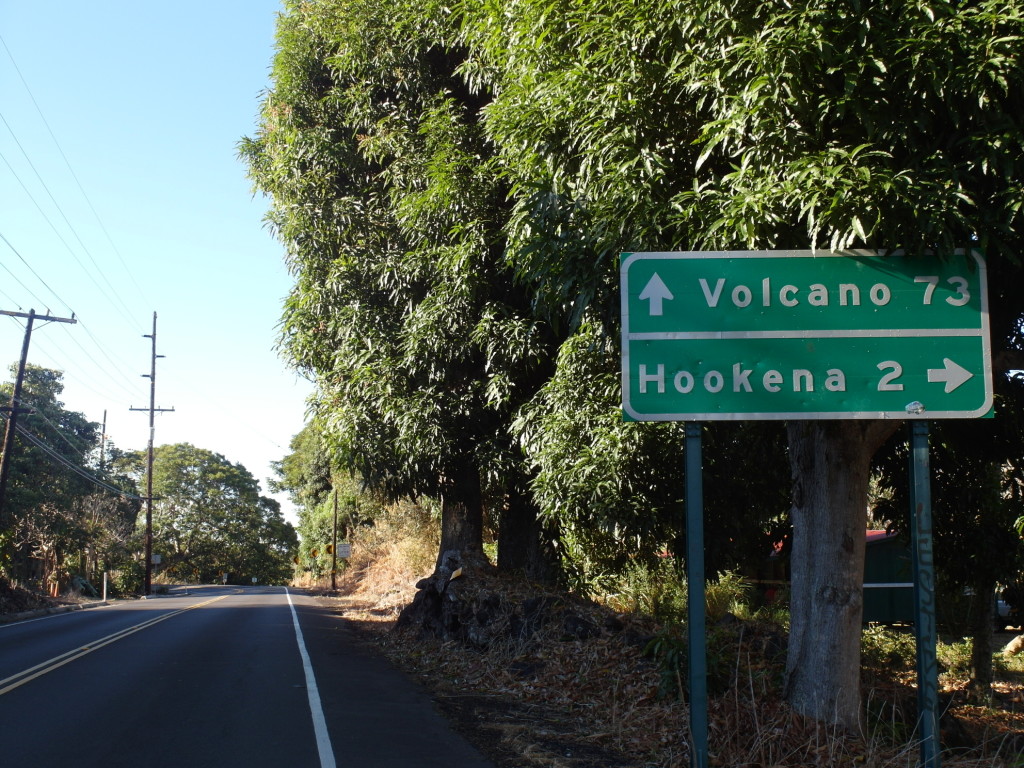
The distance for us was about 80 miles. However, you’ll have to cater time for roads where you’ll need to slow down to 35mph. Hence, we took about 2 hours to drive from Kona to Hawaii Volcanoes National Park.
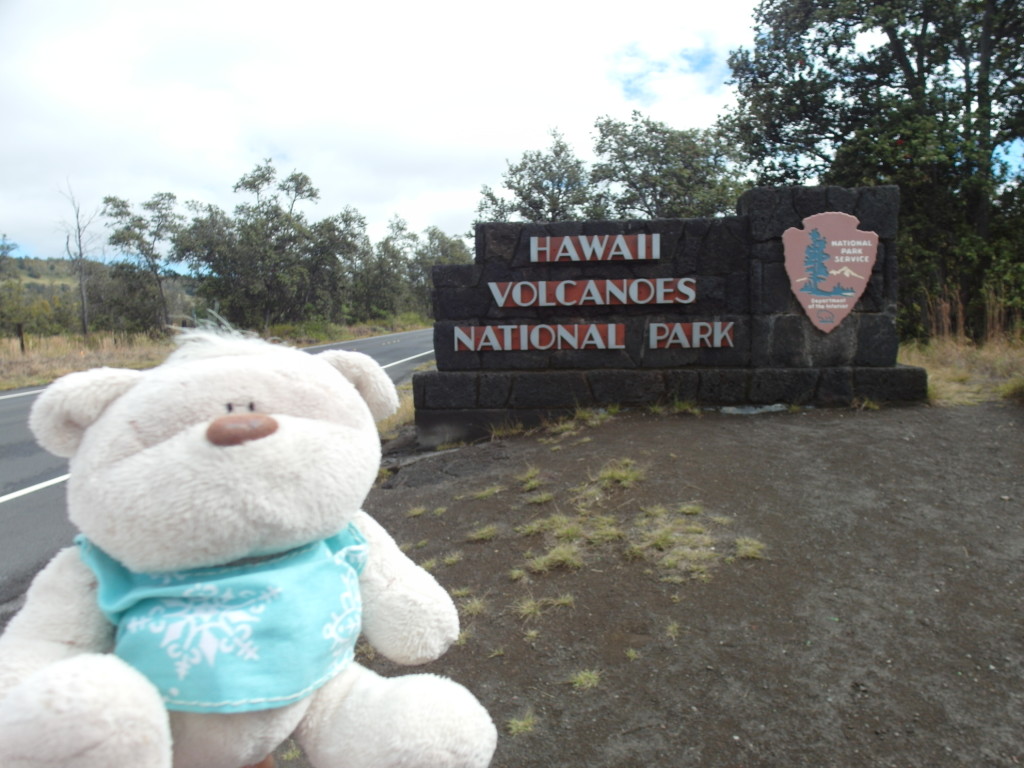
At National Parks in USA, one of the things we like to do is to head over to the Visitor’s Center to get more information. When we were at Hawaii Volcanoes National Park, the ranger told us that we had 2 ways to get to the lava viewing area. First, you could exit the National Park and head east to a spot where you could pick up a bike and bike over to the viewing area. The drive is longer but the walk and bike journey is shorter.
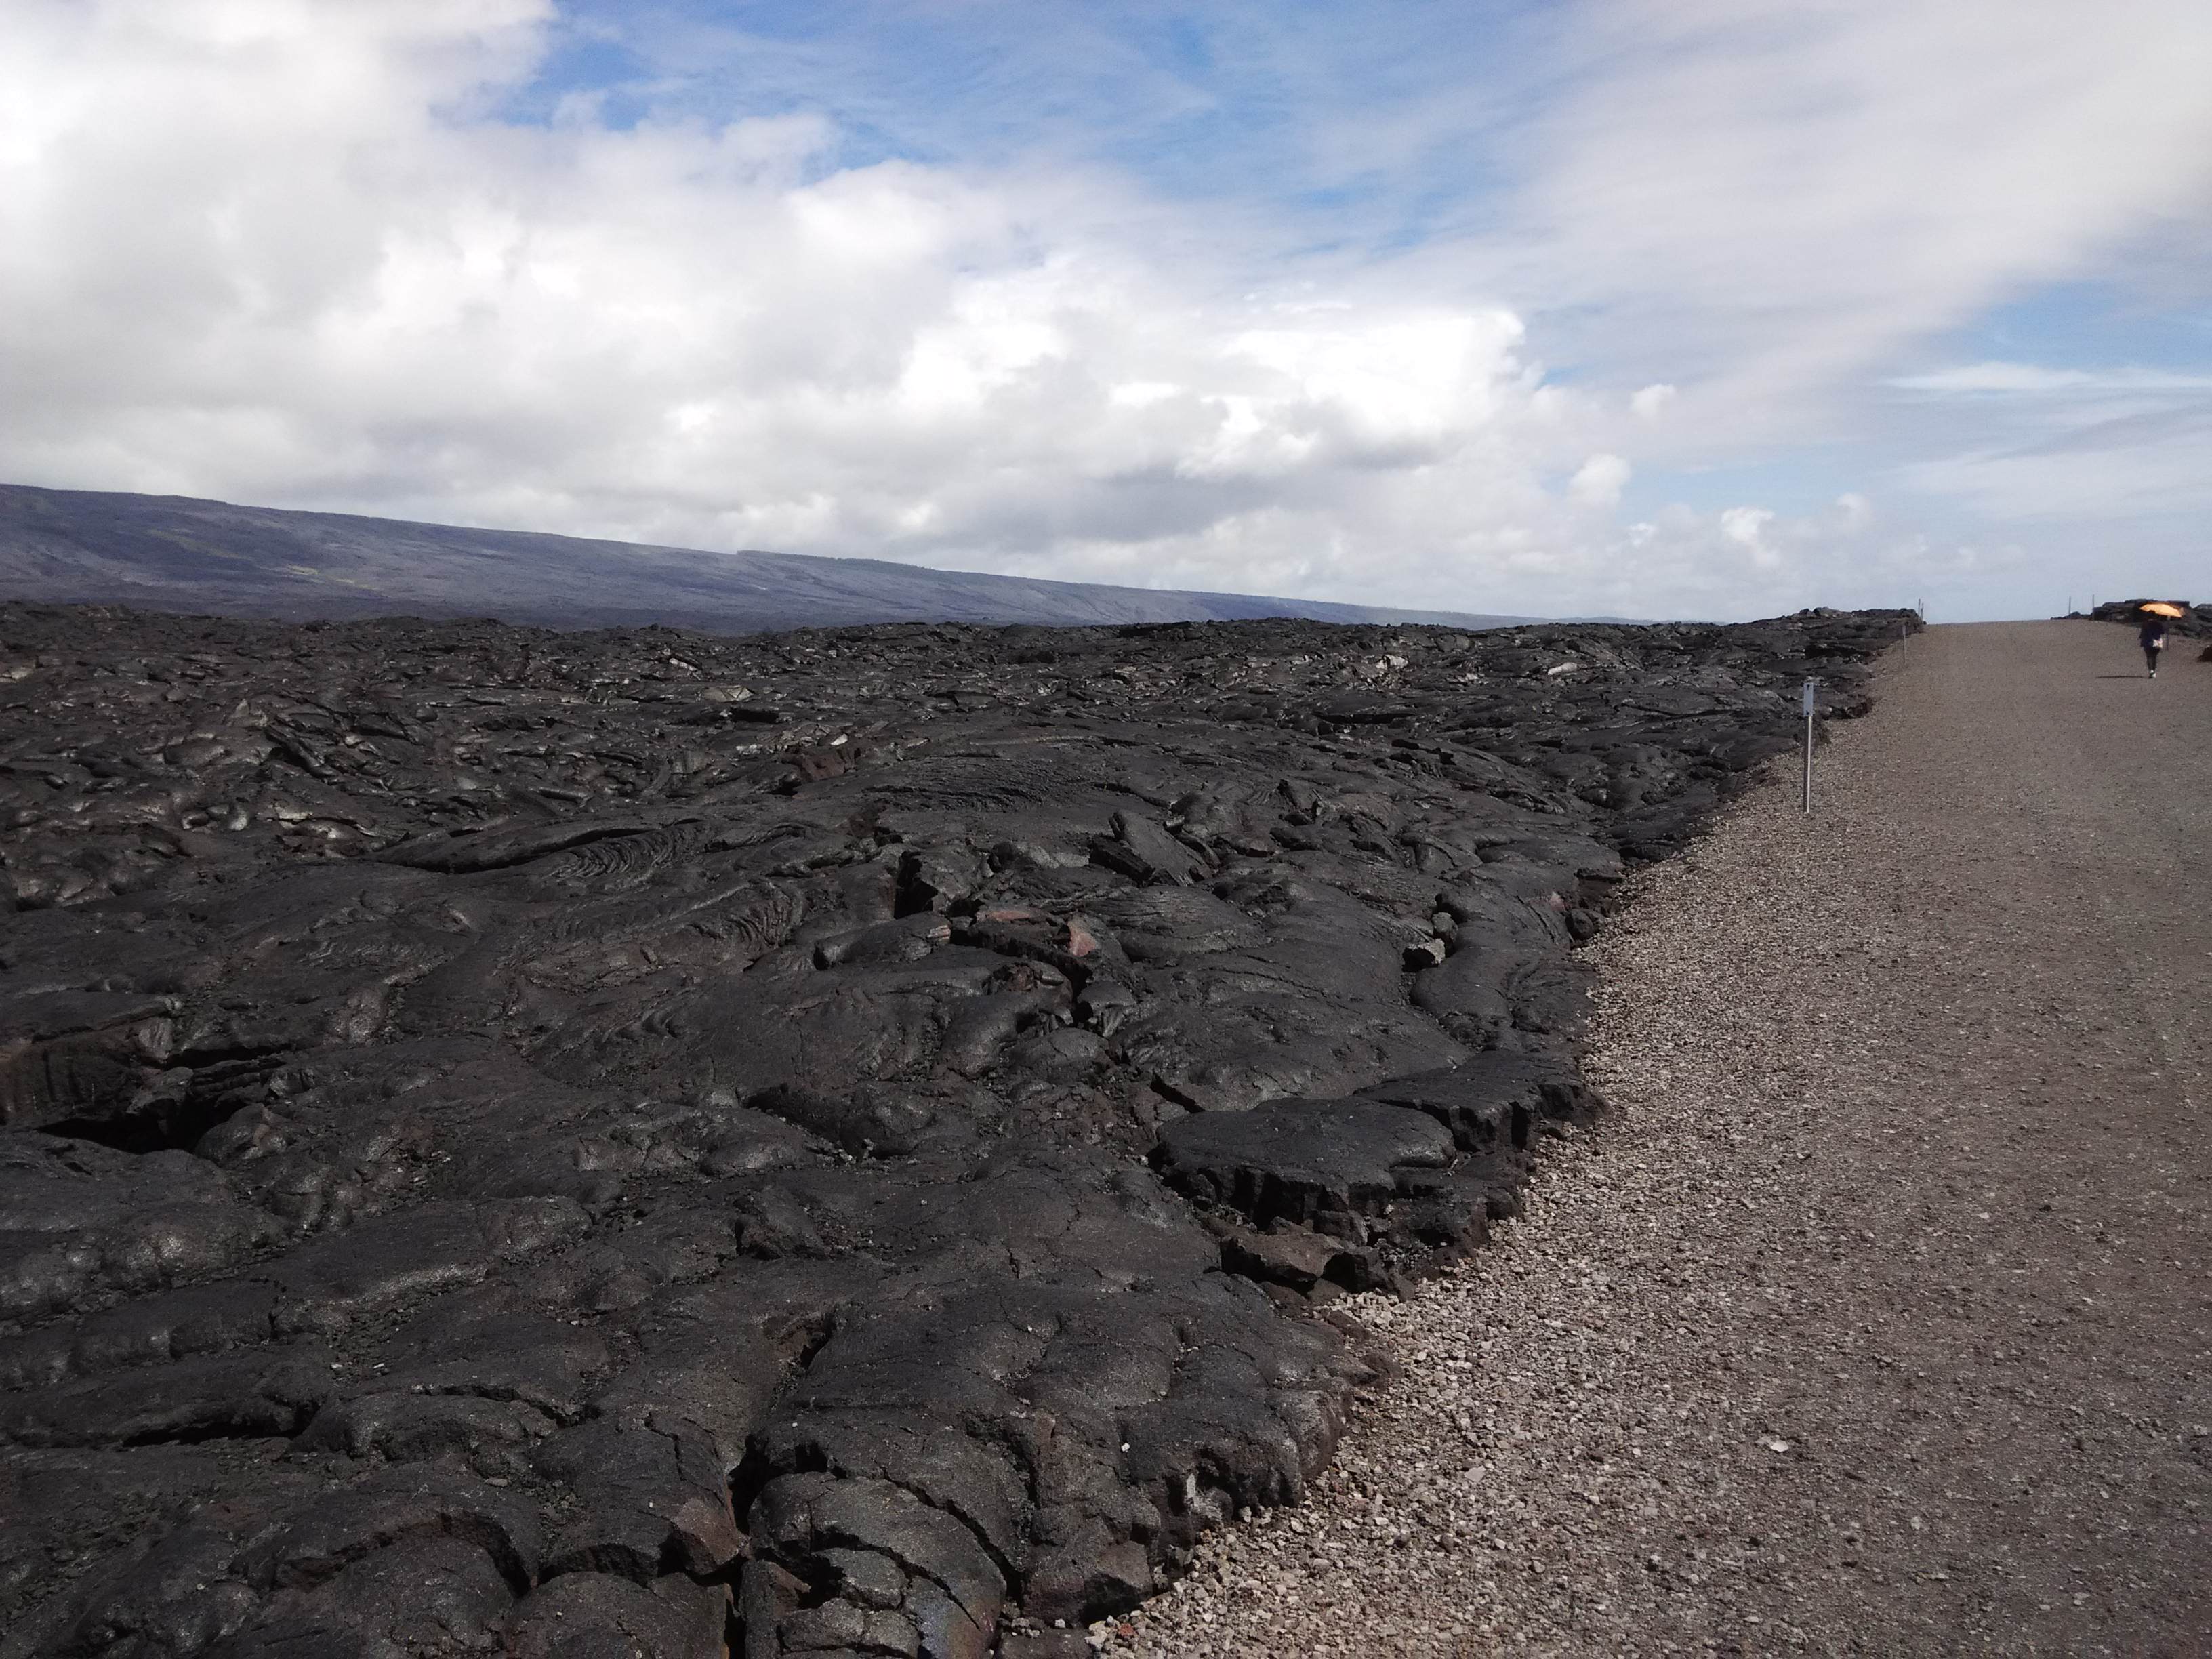
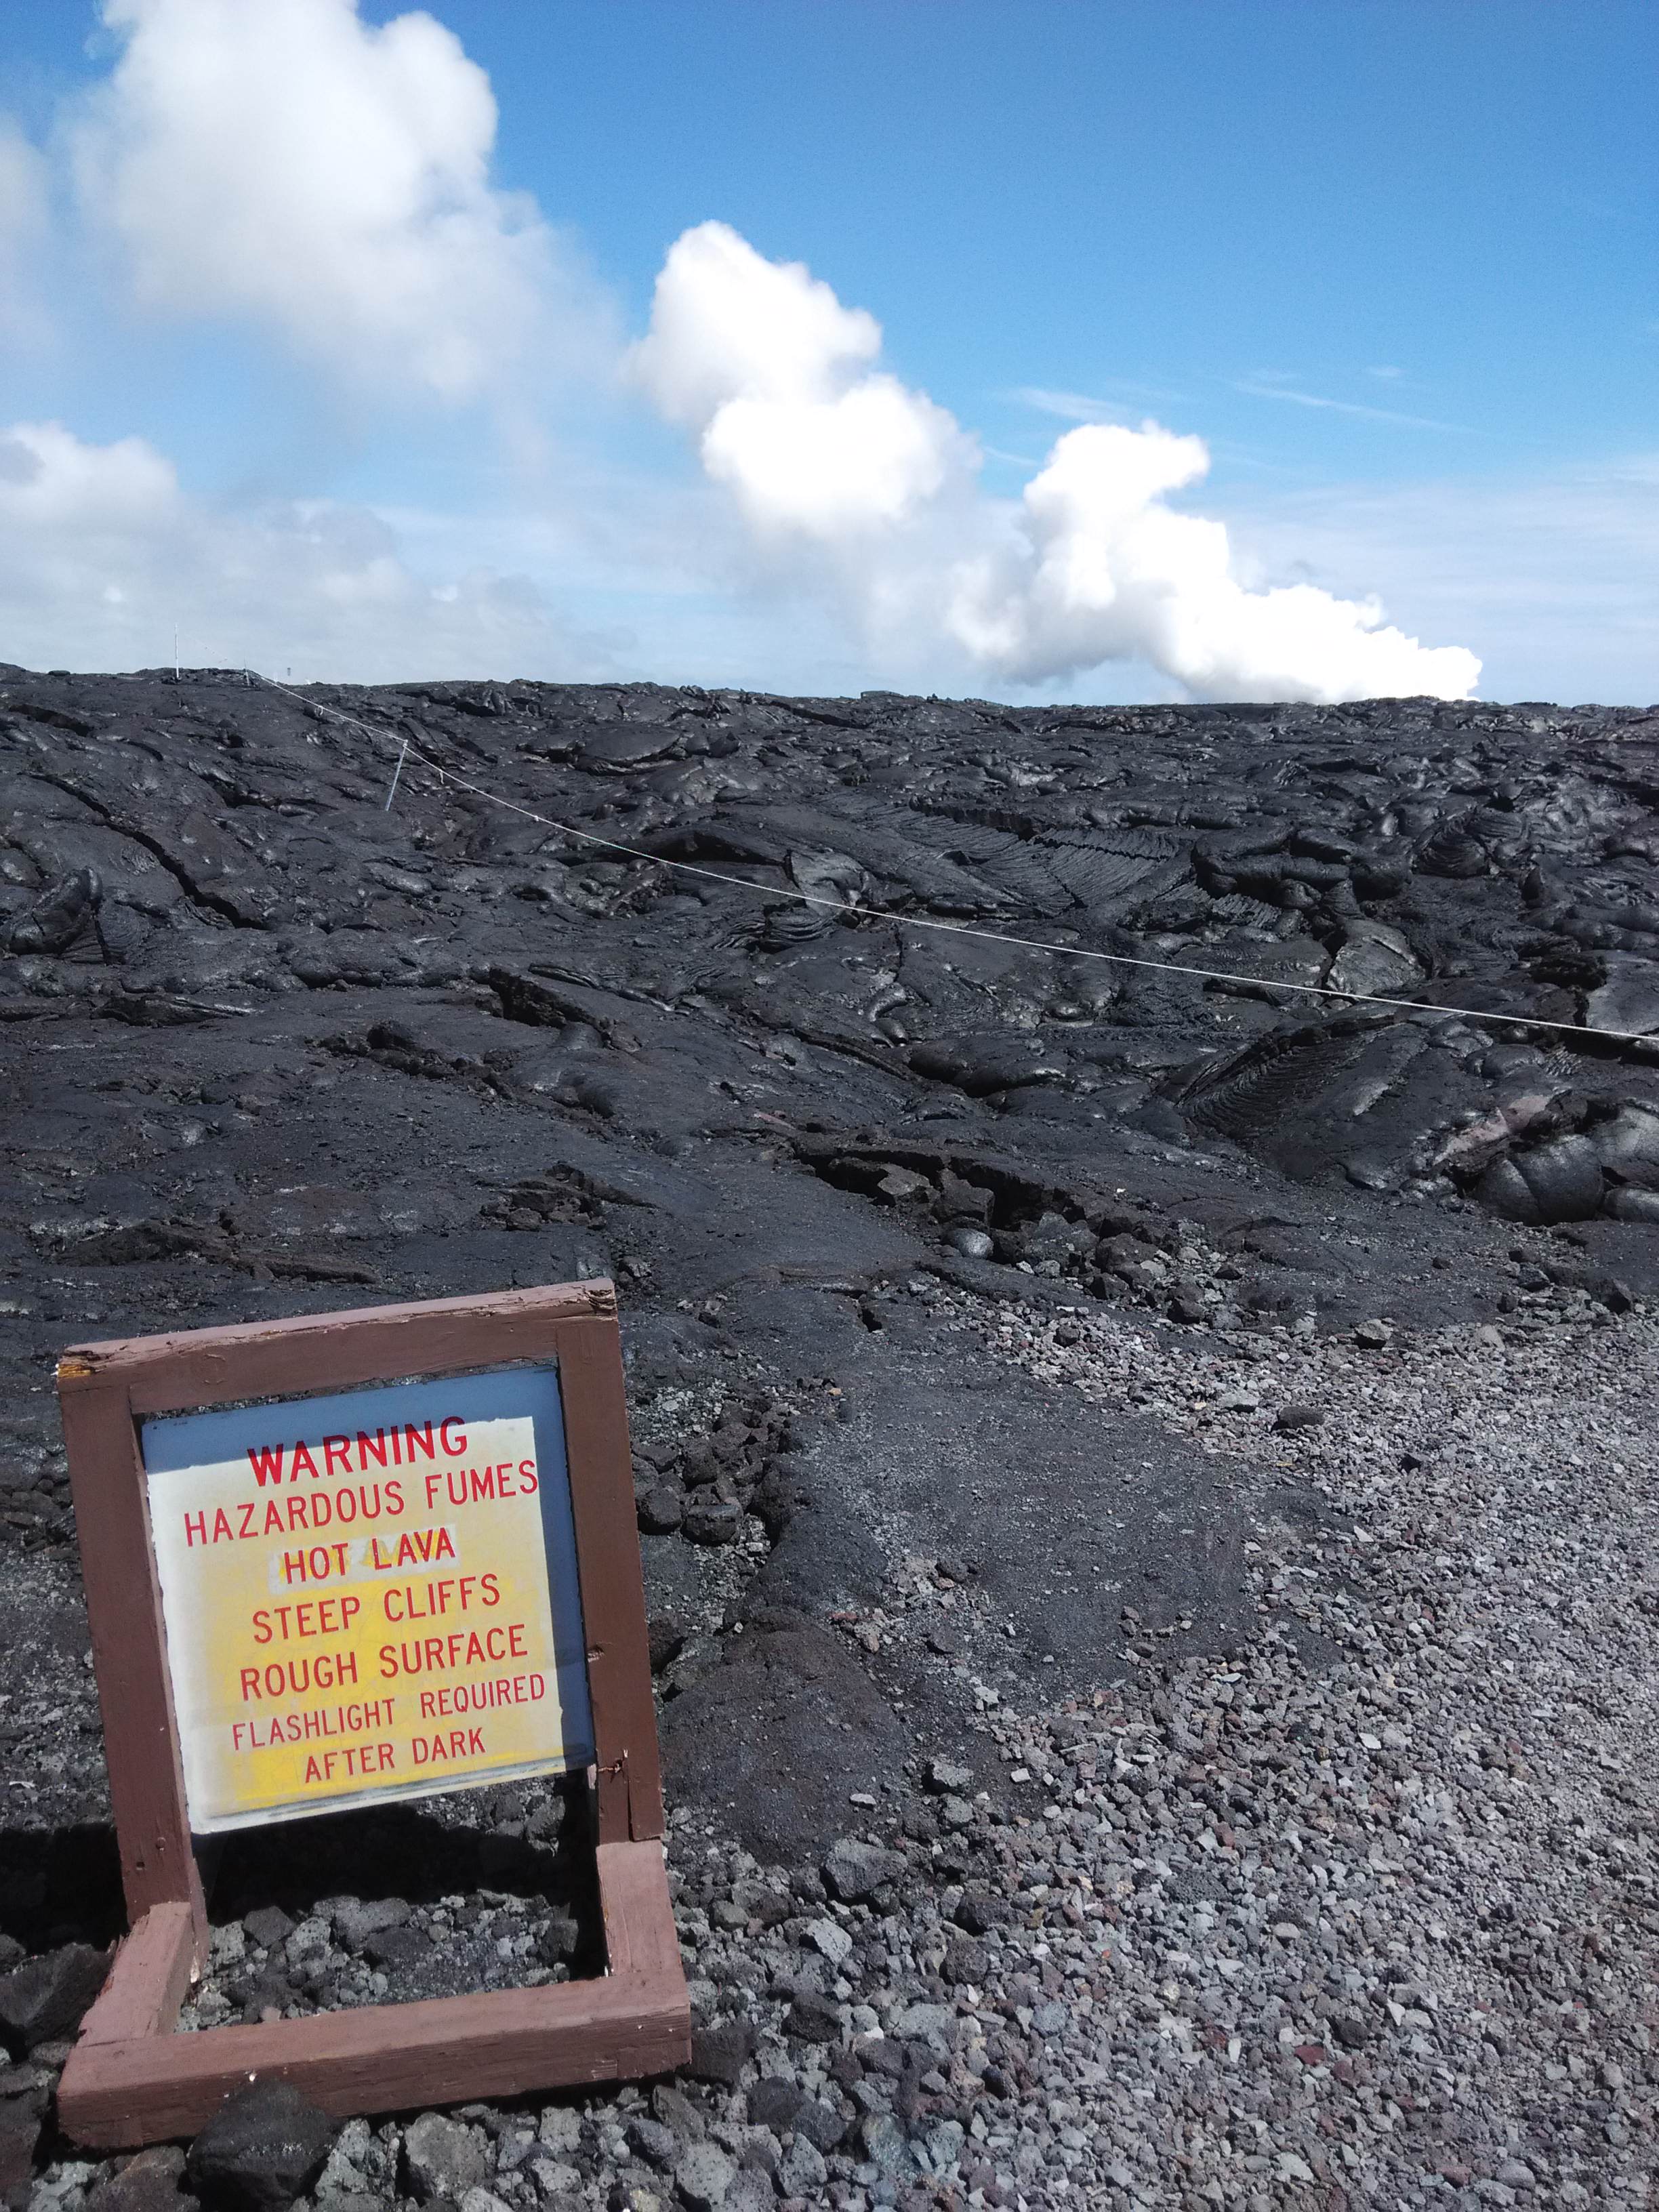
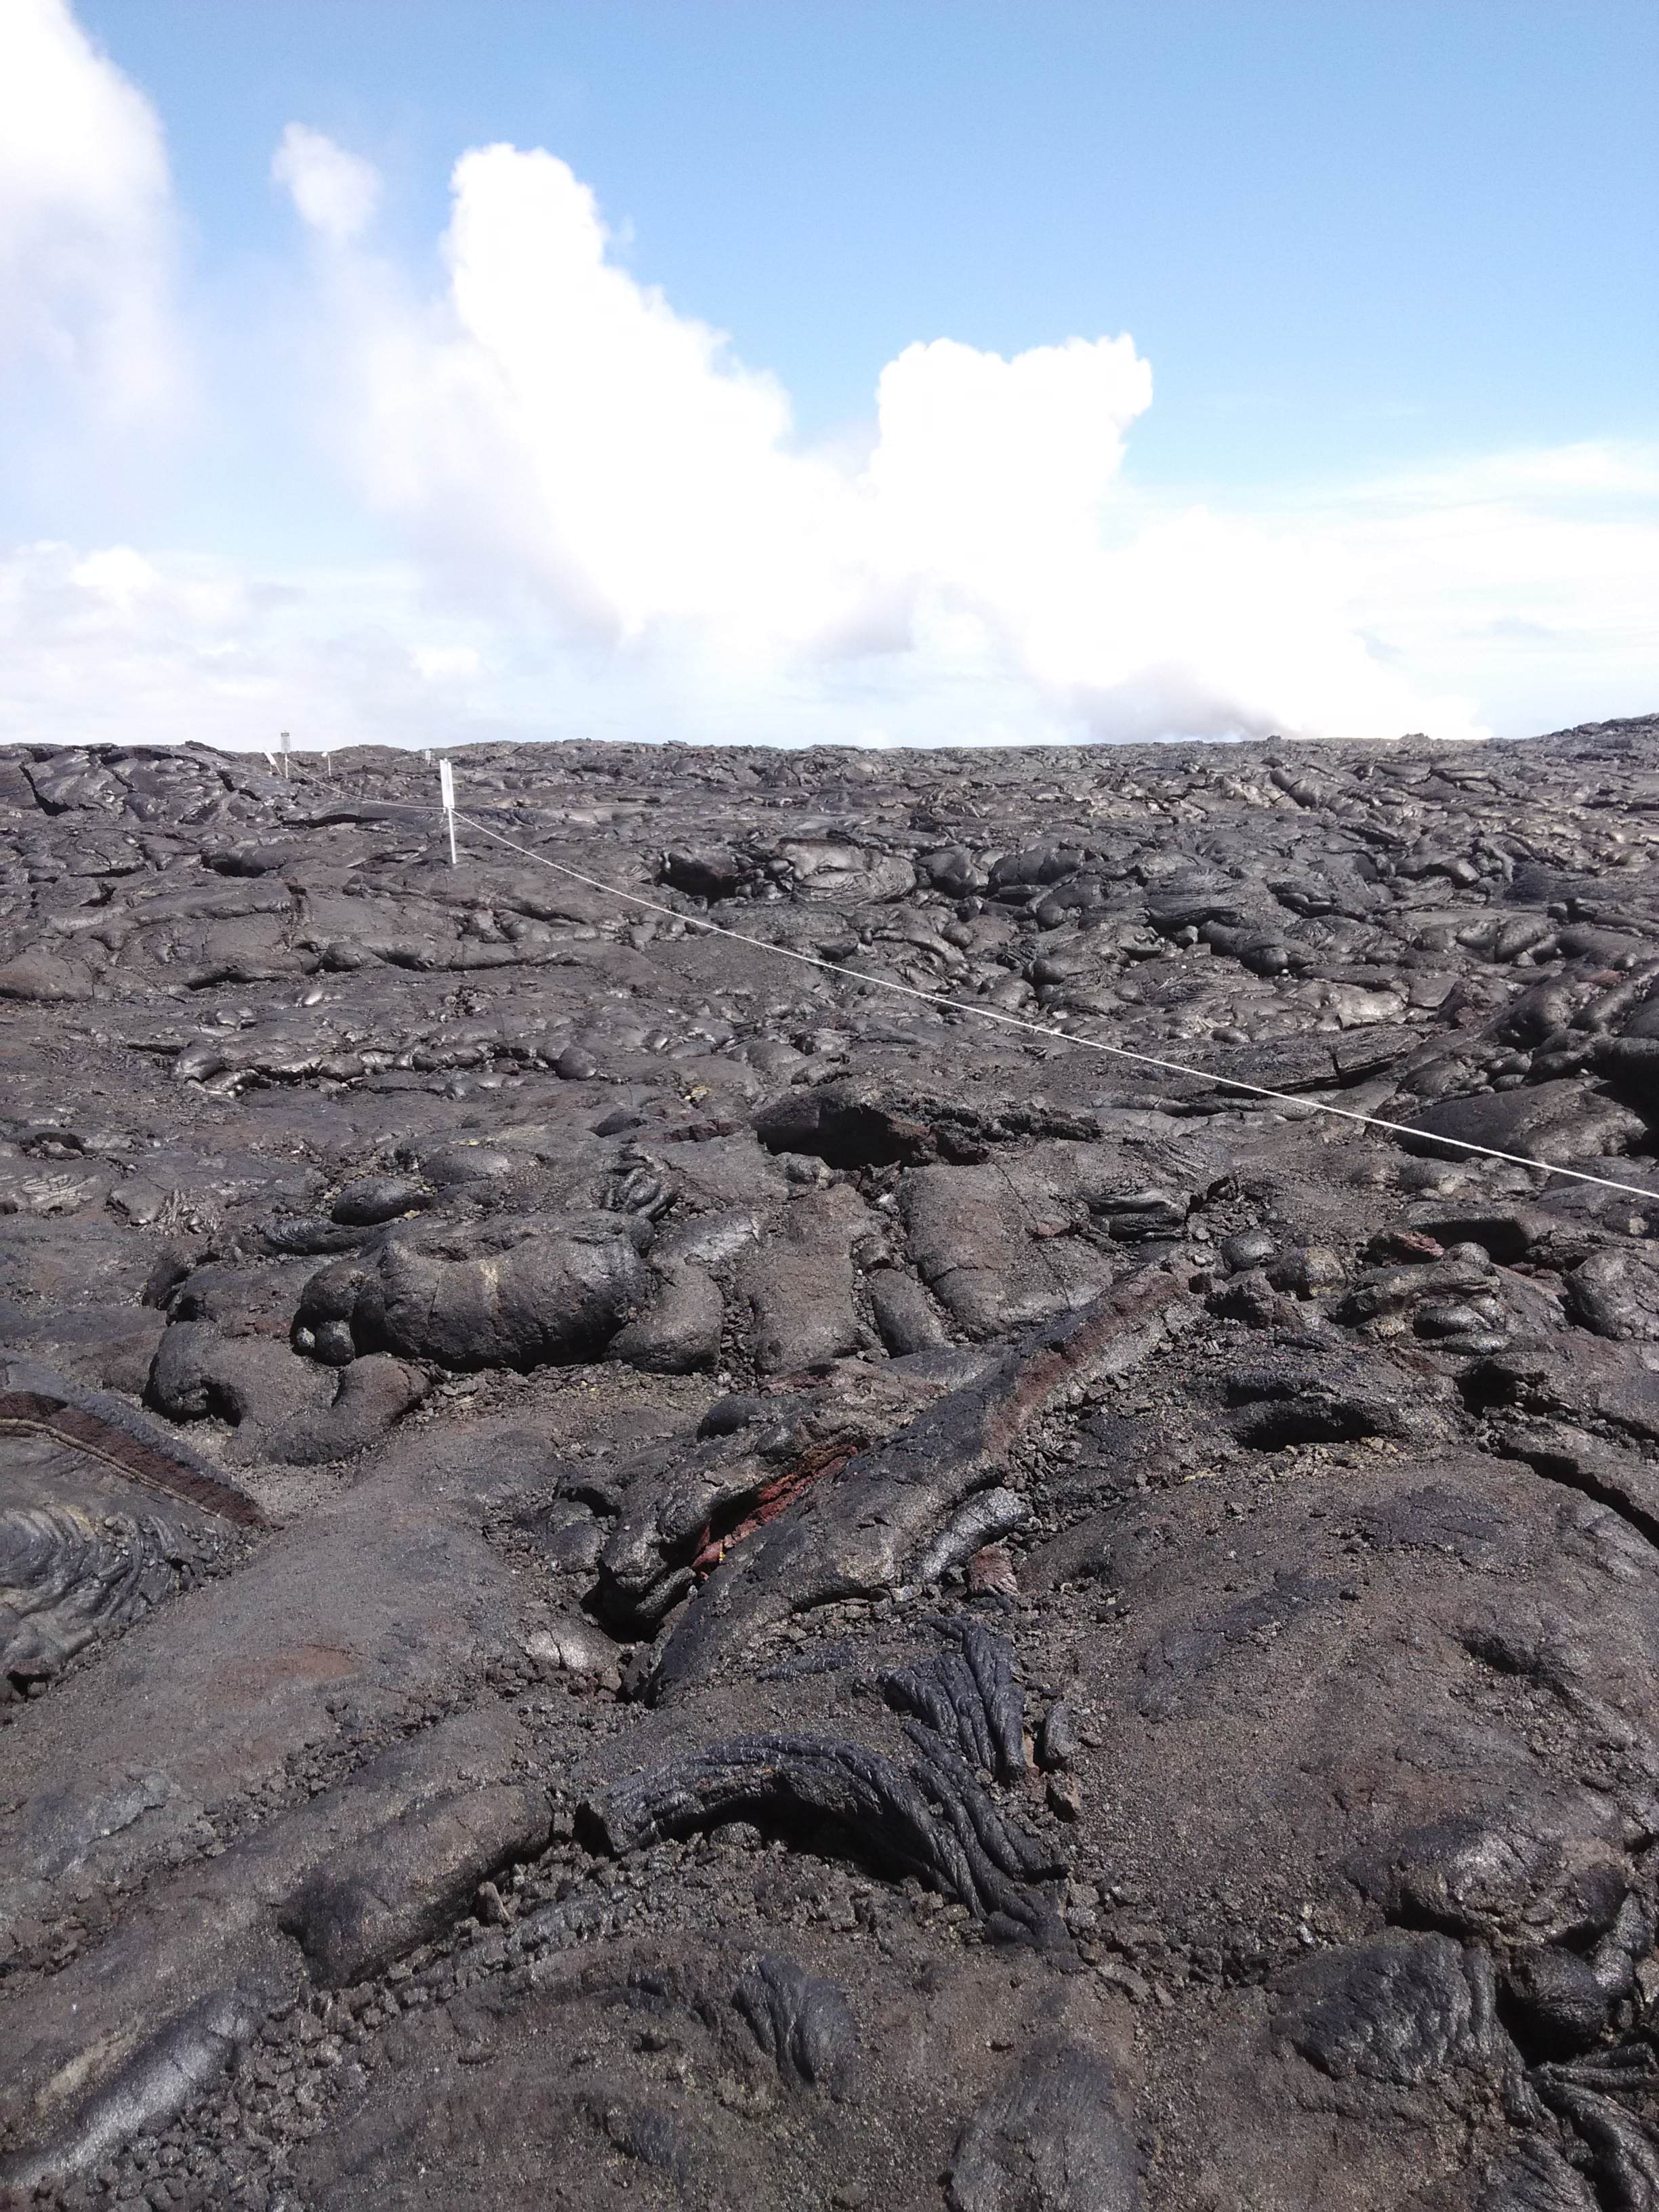
The other way (which we unfortunately took – please DO NOT TAKE THIS ROUTE!!!) is to head south, a shorter drive without exiting the park and trek (to and fro) a total distance of 11 miles (5.5 miles each direction). The 5.5 miles includes a 4.5 miles walk on a gravel road and a treacherous 1 mile hike on the lava field! No one warned us that it was treacherous! You’ve been warned…
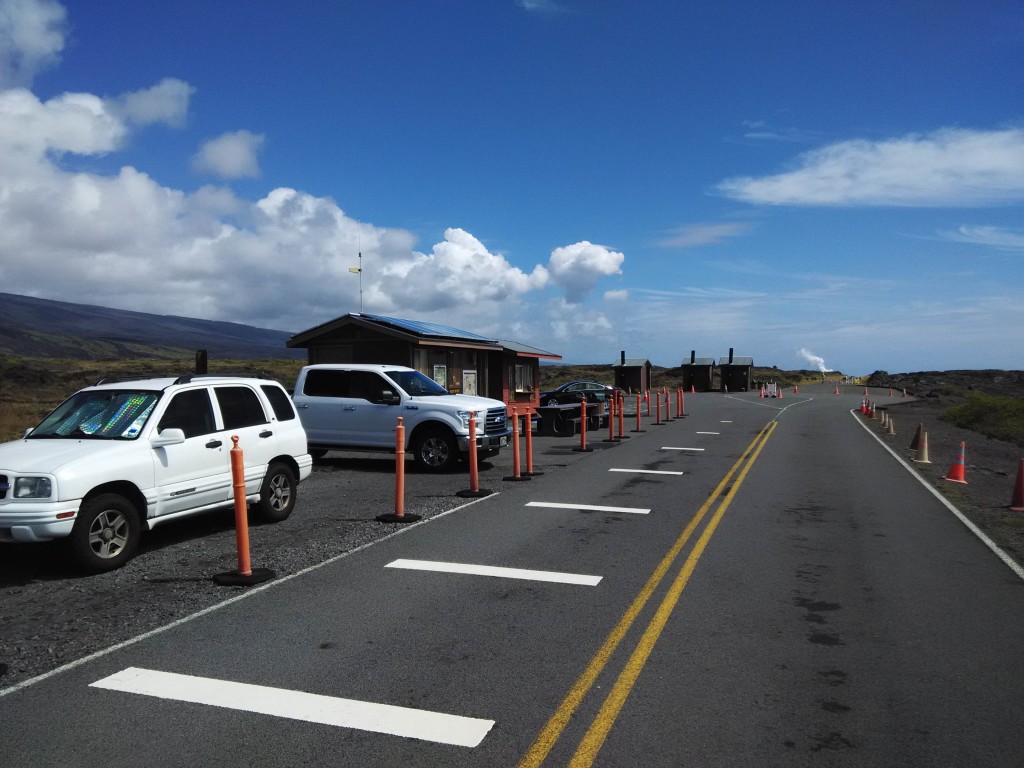
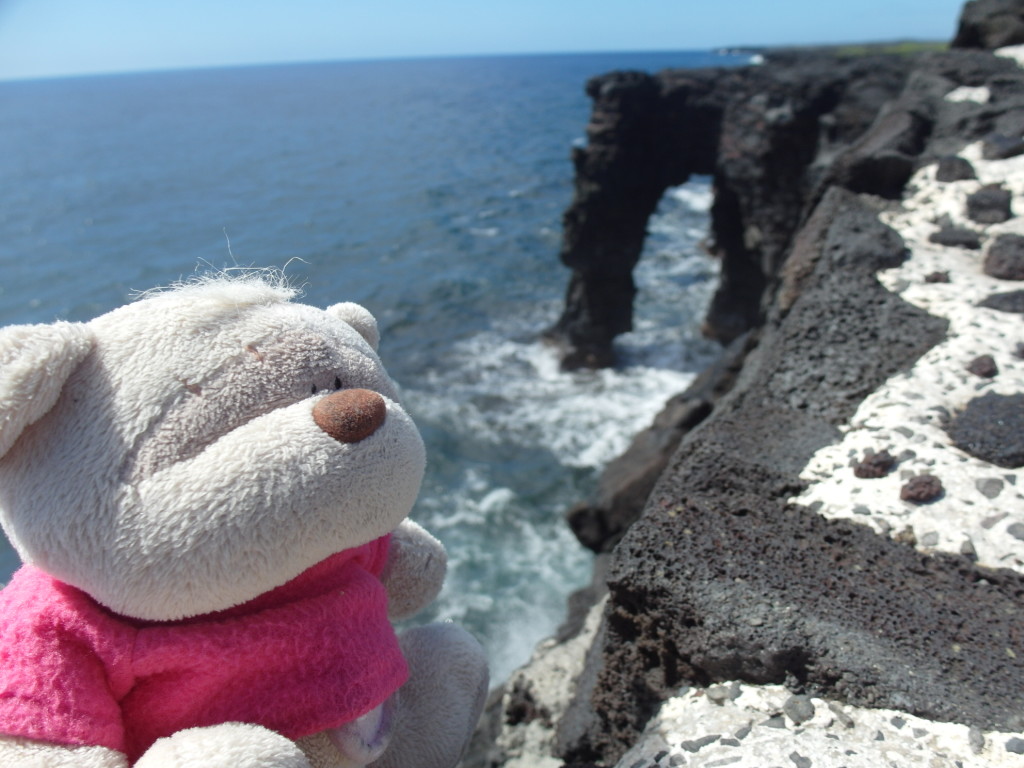
At the start of the trek, there’s a couple of sea cliffs that have been cut through which made good photo shoot opportunities. Thereafter, it was endless miles of walking on gravel and lava field!
 |
 |
 |
As a pre-requisite, you should arm yourself with at least 1 gallon (4 liters) of water per person. At the end of the entire hike, Kate and I not only finished our own water, we had to fill up another 2 liters of water from the park rangers. So thankful that they were there. Else we would probably have had some dehydration/over-exertion associated sickness.
The walk started out rather pleasantly. We ensured that we had a drink of water every ten minutes – by setting our watch on a count down timer. As we started our walk at about noon (yes, we were too confident of our abilities), there were people who headed back to the parking area. The first lady we spoke to said that she gave up halfway and returned. So did the next couple we met. At this juncture, Kate asked me if we should continue. To which I replied valiantly, we must press on! A sad and unfortunate decision that turned out to be.
At about 1:30pm, we arrived at the start of the lava fields. Already exhausted. We met a german lady who told us that you can’t see the lava entering and she didn’t see any lava. Tom ignored these signs and spurred Kate to push on. The only positive sign came from a group of young boys (WHO DIDN’T CARRY ANY WATER!!!). They told us that they were able to see surface lava. That sounded quite cool to Tom. At this juncture, Kate was already exhausted and wanted to cry. So we took a seat behind the lava entry area (where you’ll see steam and feel droplets of water) and rested for a short picnic. It was actually quite memorable.
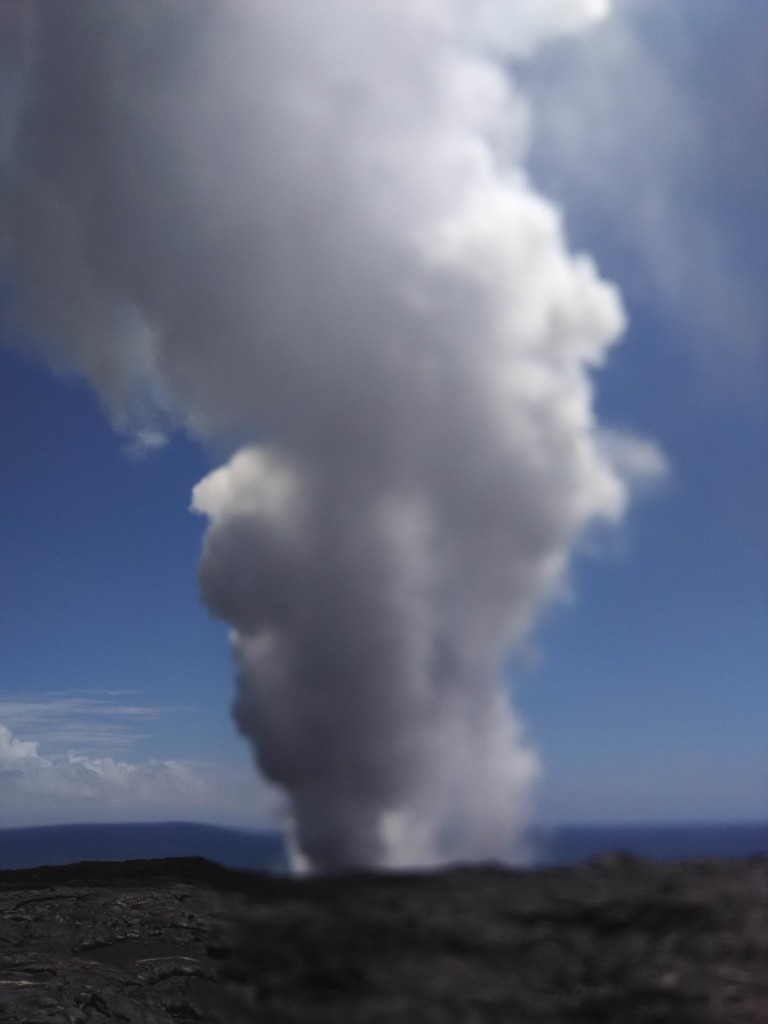
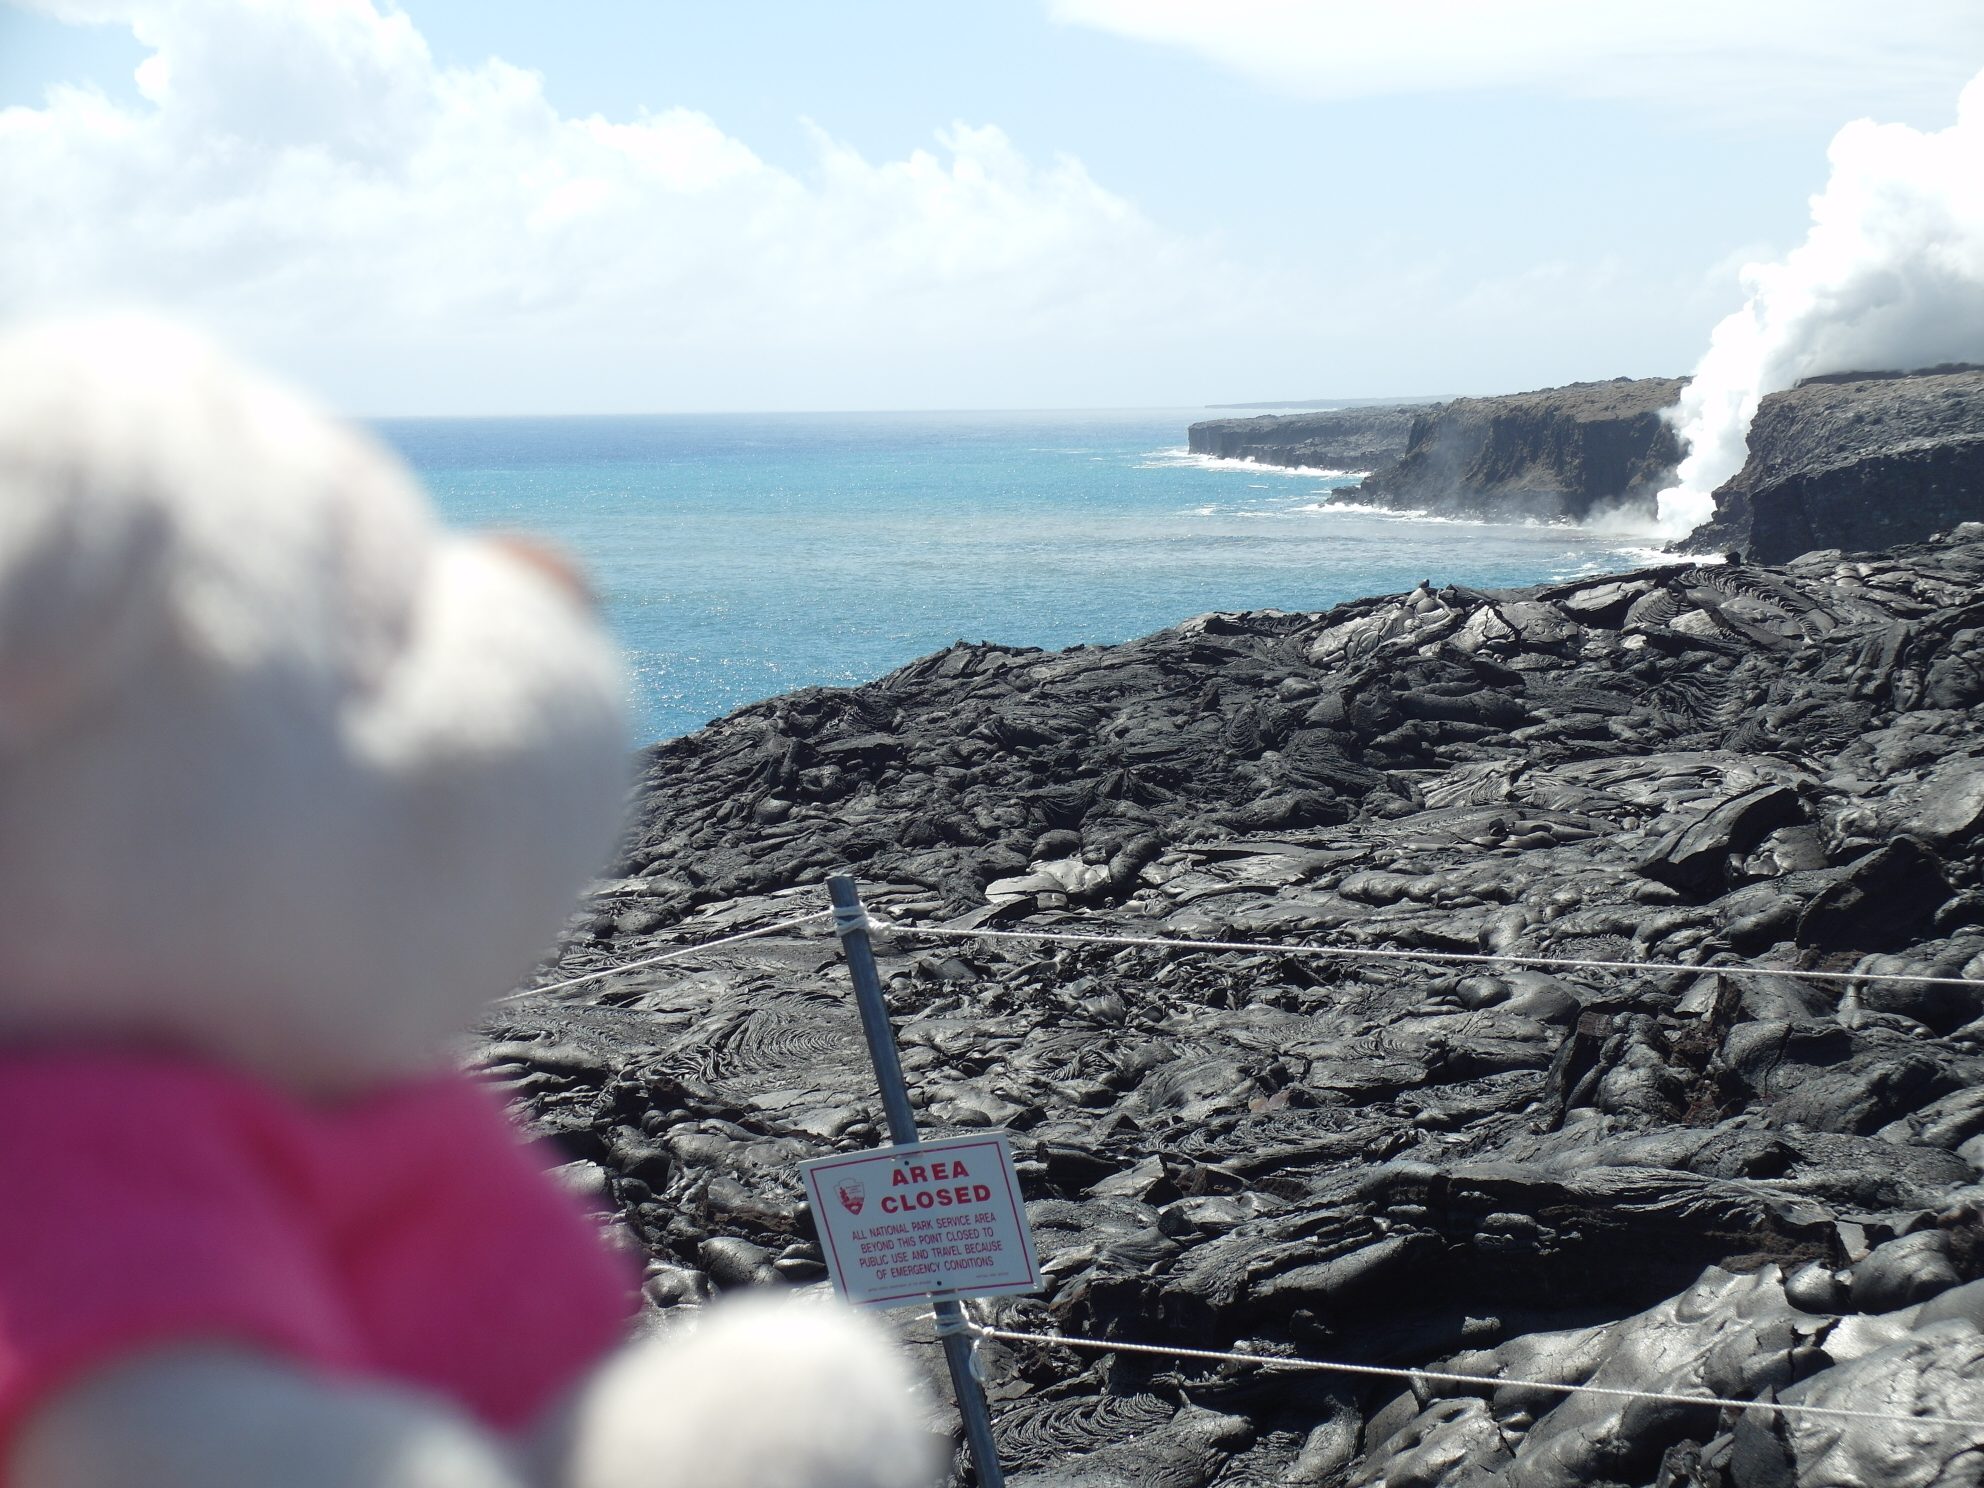
We pressed on and eventually after 2.5 hours, we reached the viewing area to see the lava entry!
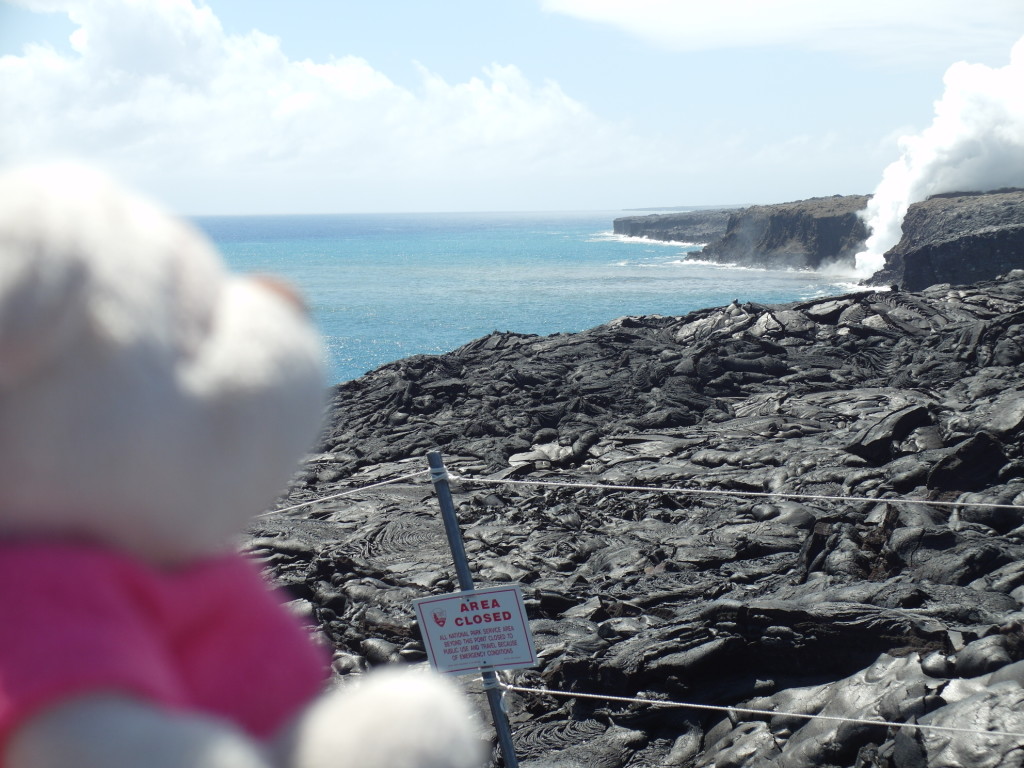
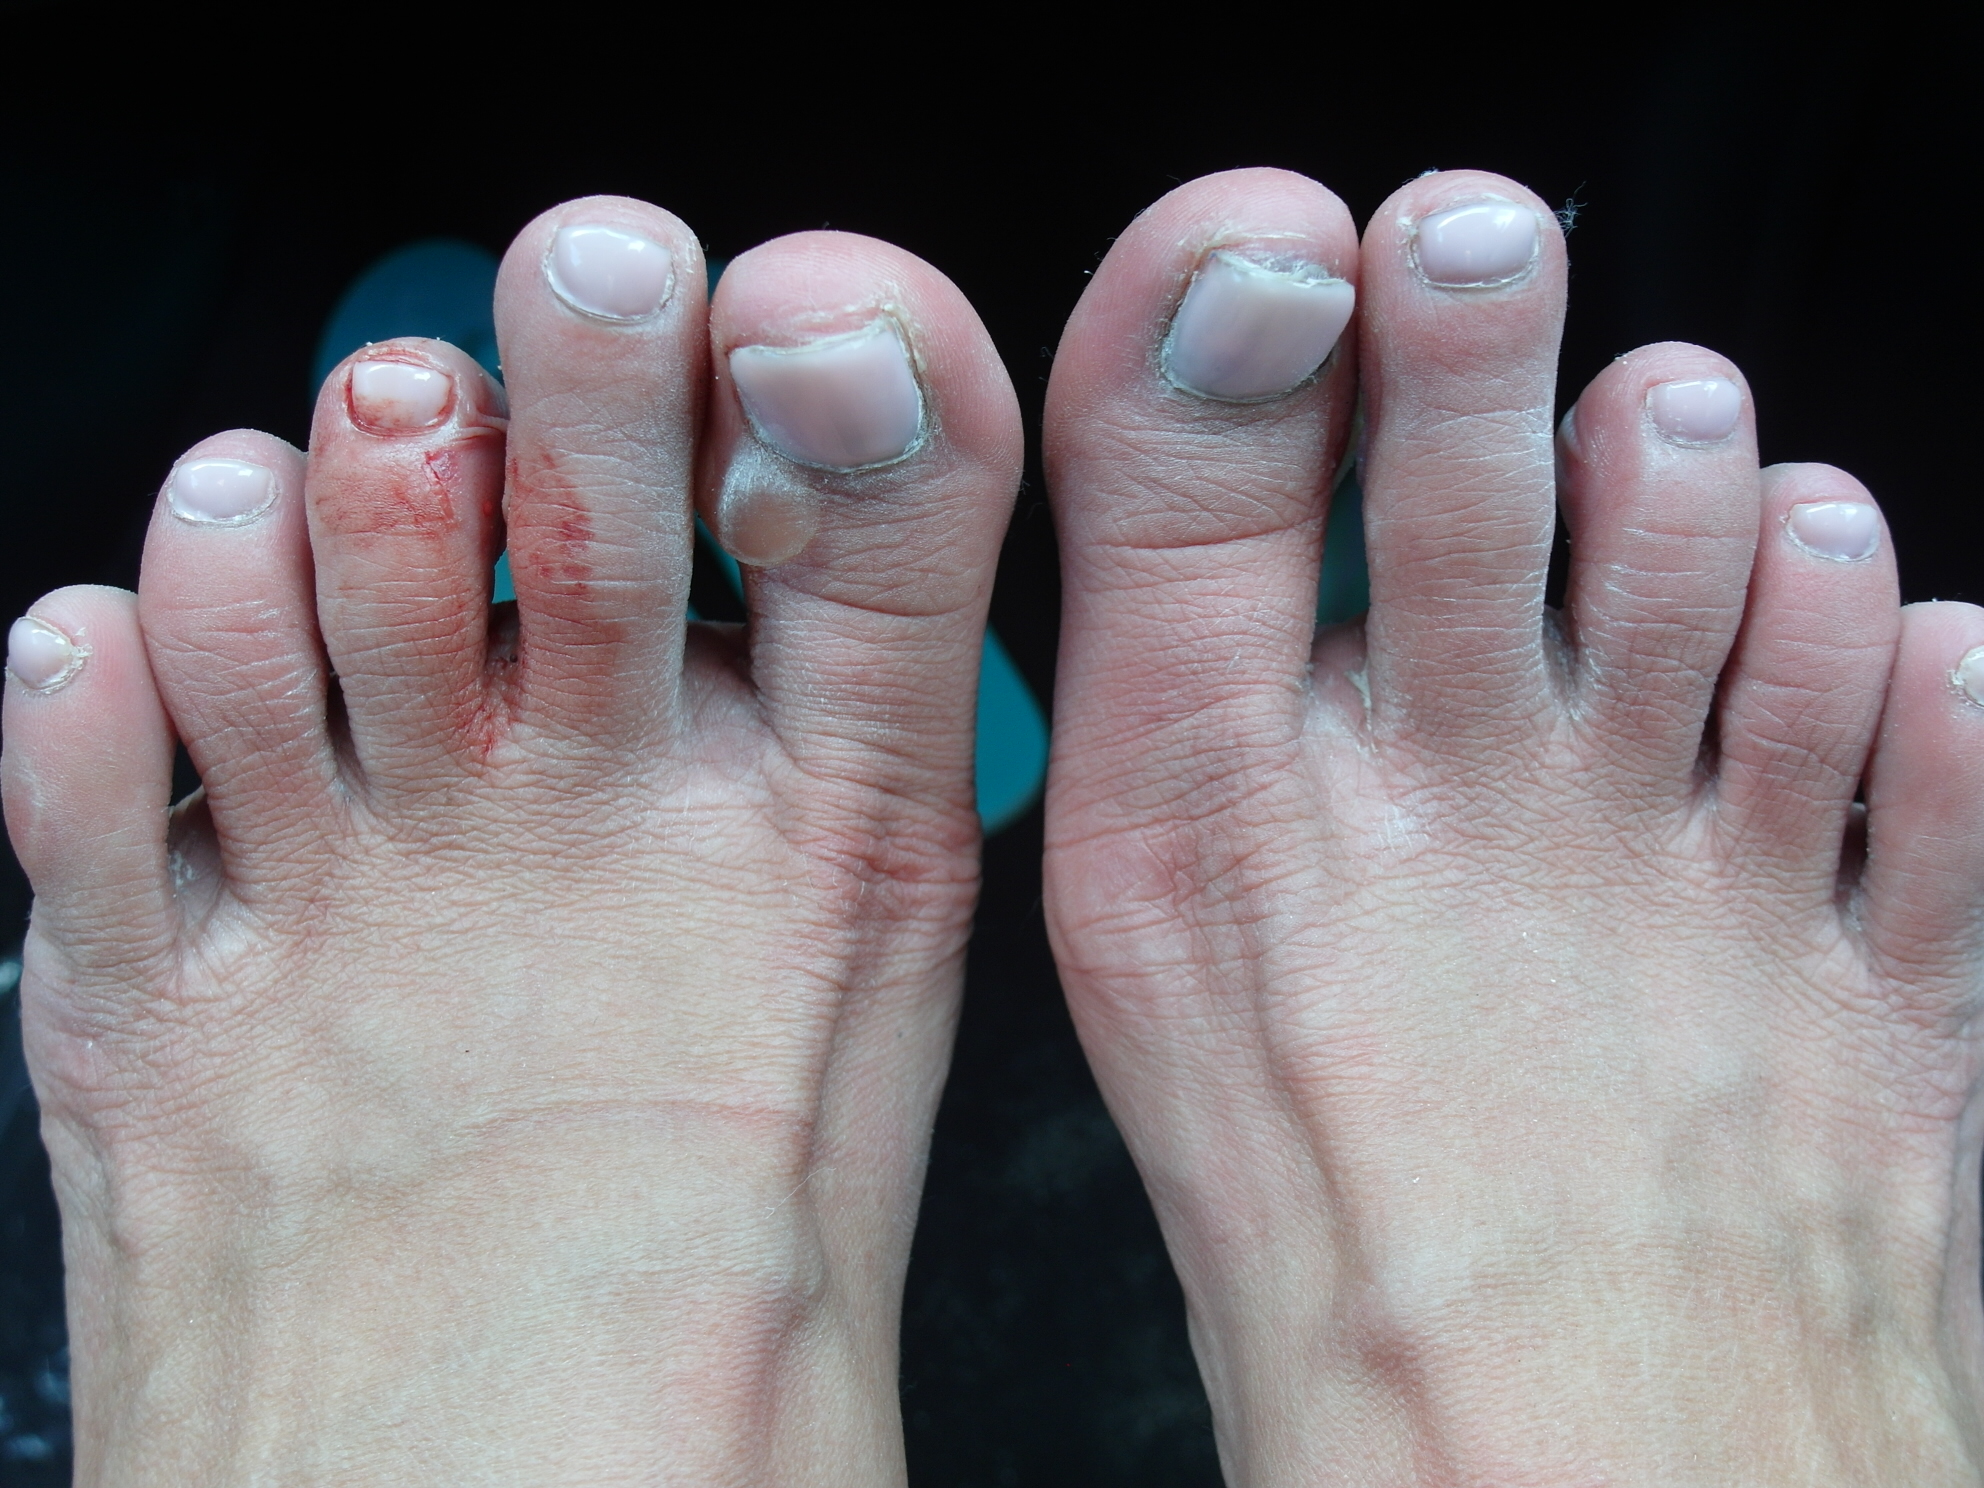
Unfortunately, since part of the cliff had broken off, the spot which originally could see lava entry, was now blocked by the other part of the cliff that had not broken off. The good news was that the rangers pointed us to the general direction of where to see surface lava. While it was a ways off, Tom was glad to have been able to see (and hear the crackling sounds) the surface lava. Kate, on the other hand, held her tears which stemmed from the 10 blisters on all 10 of her toes!
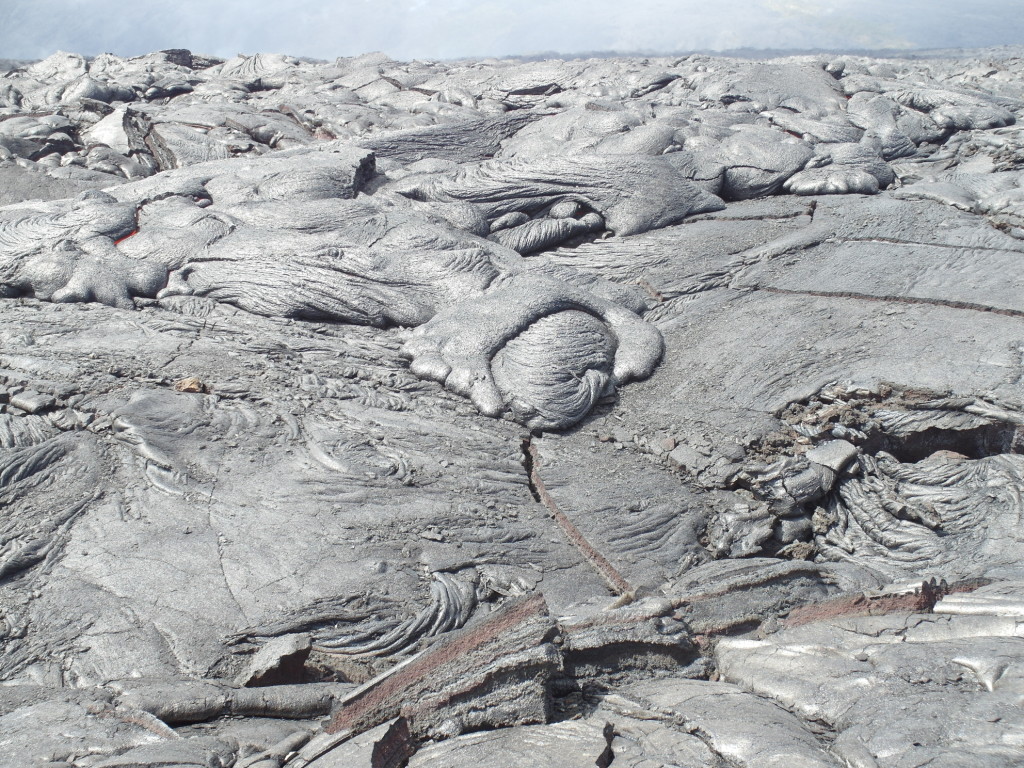
The ranger pointed us to “head towards the hills”. You have to understand that walking on the lava field is no easy feat. Sometimes the lava broke off and you’ll have to “jump” and “leap” over it. Other times, you’ll have to scale and descent them like climbing and descending from a hill slope. Difficulty level 5. Definitely not for elderly and children. After seeing the surface lava, we topped up our water from ranger’s van and started the long walk back to our car. This time, we had more rest stops then we did. By the time we eventually got back to our car, it was 5pm. There, we treated ourselves to a bottle of coke each, eventhough it was $3USD a bottle! Drinking the coke was indeed rewarding after walking for the last 5 hours!
 |
 |
 |
At the end of the “memorable” walk, Kate had blisters on all her 10 toes. Since we saved $500USD for not taking the lava boat tour, we treated ourselves to a fantastic pizza dinner.
If you enjoyed our content, “Like” us on Facebook Today!
We hope you have enjoyed our coverage of our 13 days Hawaii travels. Remember NOT to take the treacherous 5 hours walk when you visit Hawaii Volcanoes National Park. Not even when the rangers say it’s doable!!!
Other Posts from 13 Days Hawaii Travels
Travel Hawaii in 13 days: Big Island Hawaii Day 1!
Travel Hawaii in 13 days: Big Island Hawaii Day 2!
Travel Hawaii in 13 days: Big Island to Maui Day 3!
Travel Hawaii in 13 days: Road to Hana Maui Day 4!
Travel Hawaii in 13 days: Haleakala National Park Maui Day 5
Travel Hawaii in 13 days: Arrival in Honolulu Oahu Day 6
Travel Hawaii in 13 days: Diamond Head and Waikiki Honolulu Hawaii Day 7
Travel Hawaii in 13 days: Hanauma Bay & Maui Brewing Day 8!
Travel Hawaii in 13 days: Dole Plantation Oahu Day 9!
Travel Hawaii in 13 days: Chilling at Kauai Shores Day 10
Travel Hawaii in 13 days: Kauai Coffee & Grand Hyatt Kauai Resort and Spa Day 11
Travel Hawaii in 13 days: Luau at Grand Hyatt Kauai Resort & Spa Day 12
Top 10 Things to do in Hawaii ( A Pictorial Review)!
Top 4 Things to do in Big Island Hawaii!
Top 3 Things to do in Maui Hawaii!





 Buy us a

 OR
OR
